Screen Printing
For some reason, I was nervous about screen printing before starting. That’s even though it’s commonly taught at college (several people on my course had already studied it) and seems like a genuinely useful form of printing (promotional posters, t-shirts, tote bags, and so on.)
Like etching, there’s a lot of process, and as we were getting to the end of term, I had a bit of trouble taking it all in. Here’s what we did:
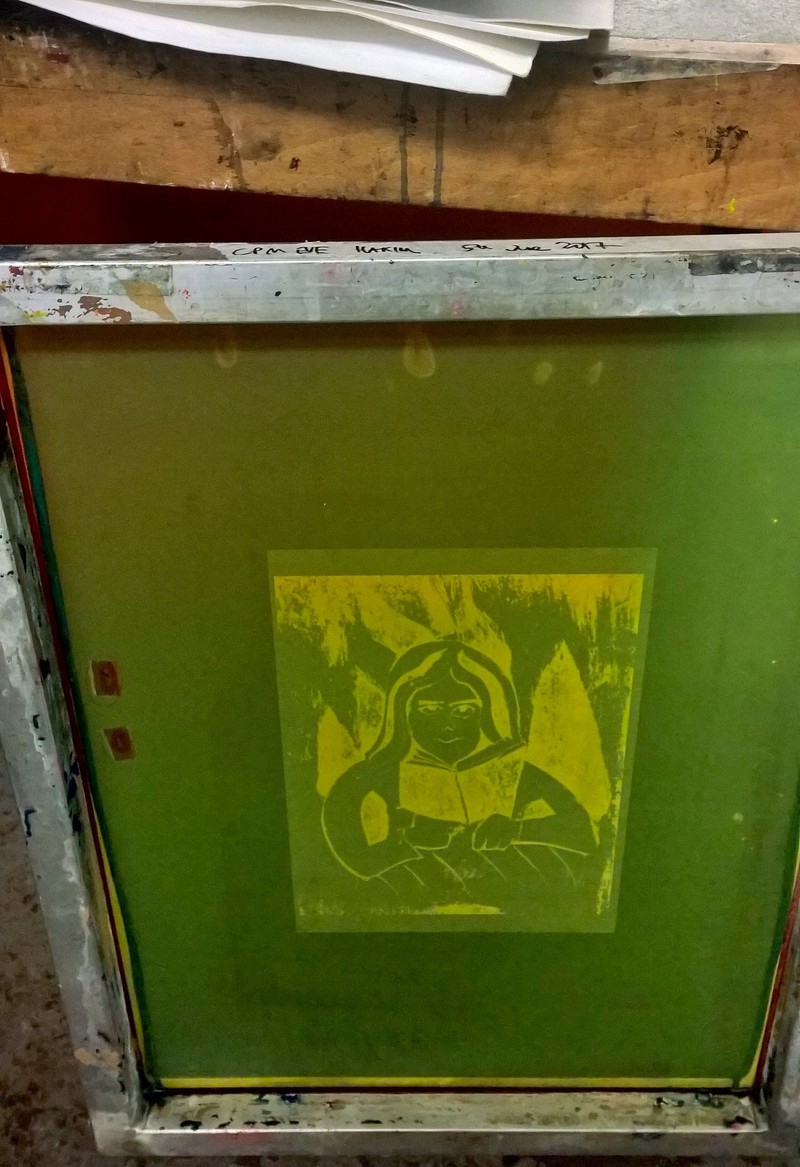
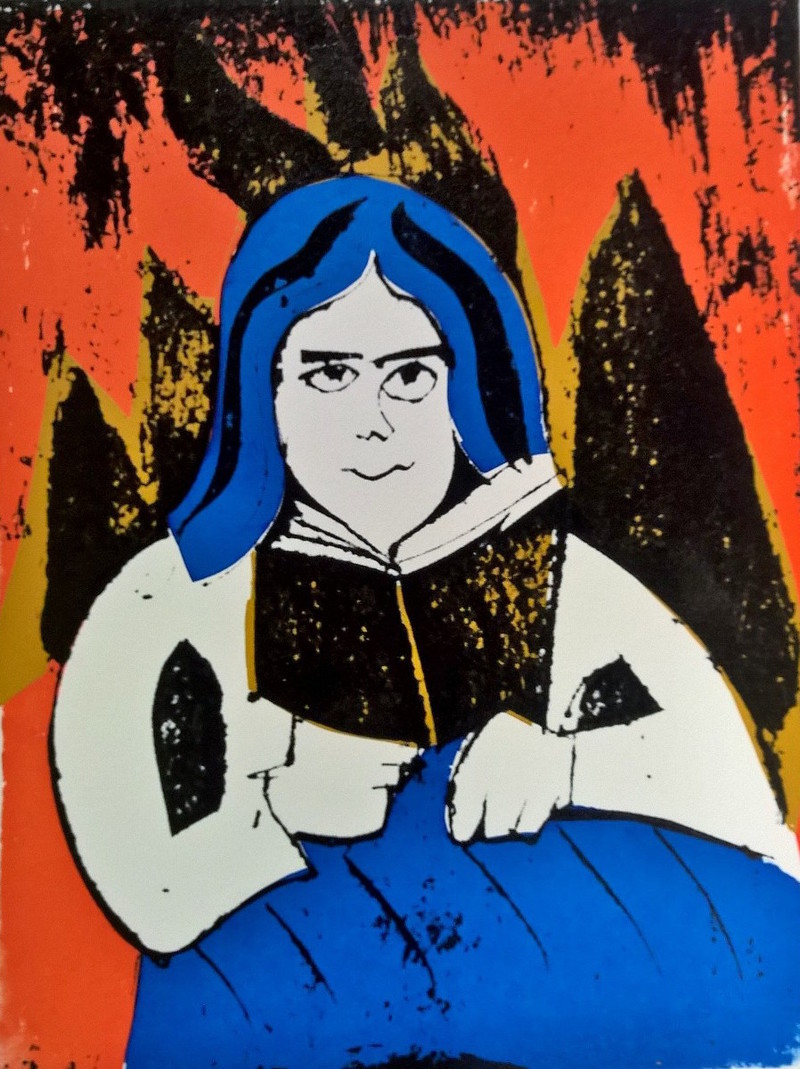
- photocopy or laser-print an image onto A4. (Has to be laser rather than inkjet printed, presumably because of the next step). I used a copy of the collagraph print “Small angry girl reading in Hell”.
- rub vegetable oil into the image, making it translucent.

- choose a screen - basically polyester mesh stretched onto a frame
- in a darkroom:
- coat the screen with green photosensitive gloop. This is one of those “looks easy when teacher demonstrates it” jobs, and in fact we all made a pretty good job of it under Jenni’s other watchful eye, but I’m not looking forward to doing it next time.
- let the screen dry.
- put the translucent image and the screen onto a very specialist lightbox so that the light that gets through cures the green coating.
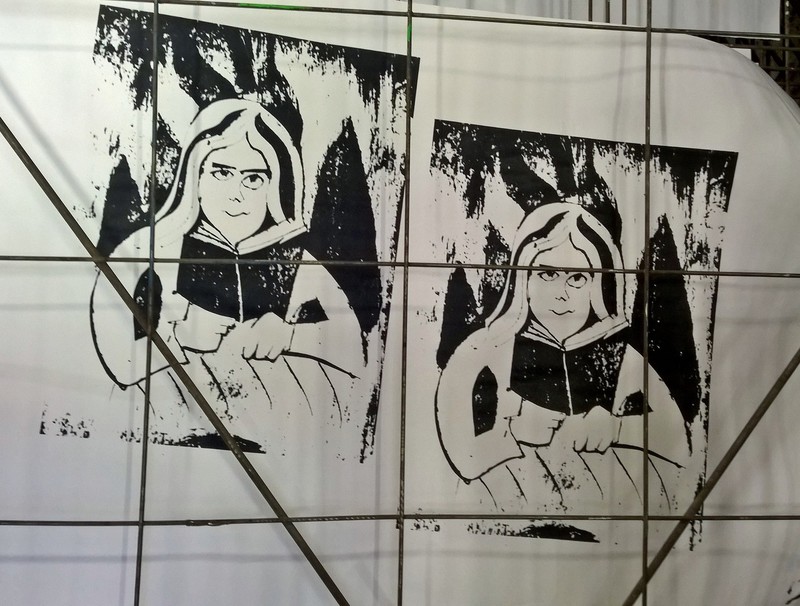
- wash the screen with a hose. We’ll be doing this a lot. This time we do it
at quite high pressure to wash away the bits that weren’t cured by light.
(e.g. the dark parts of the image will crumble away, which means they’re
where the ink will be able to get through the screen.)
- and of course dry the screen using paper towels and a hair dryer (but not hot, so you don’t melt the screen.)
- at a screen printing bed
- loosen the bed to get the screen into the metal frame, and figure out how to tighten it, using wooden struts if necessary.
- tape the screen around the image, using packing tape. Hard bit for me here was relaxing. The moment you pull the tape tight, it buckles and doesn’t sit flat. You overlap the tape, so that no ink will get through. (Hmm, I’m now wondering if this step is required here, as of course this is the exposed screen that has the resist cured onto all of it except the bits you want to print.)
- mix some ink with screen medium, and add some in a well on the section of tape nearest you.
- raise the frame slightly, (e.g. propping your roll of tape under it)
- use a squeegee to push the ink over the screen to “load” it in a single movement. This doesn’t require much pressure, at the end of it the whole screen should be covered in ink, and the remaining well of ink is on the far side of the image.
- put some newsprint down to print a template onto.
- put newspaper everywhere else on the bed, to protect it, and also to allow the vacuum to work properly.
- lower the frame
- switch the vacuum on
- pull the squeegee, bringing the well of ink back towards you. This time get a good contact with the bed, and keep it pressed down as you pull.
- switch the vacuum off, to avoid drying the image. Unlike the other processes so far, screen feels like you’re constantly running to keep up, and avoiding your screen drying out.
- push the ink back to the top to load the screen (again, this helps keep the screen moist so it doesn’t dry out.)
- repeat and rinse till all your templates are printed.
Did I mention there was a lot of process? So now…
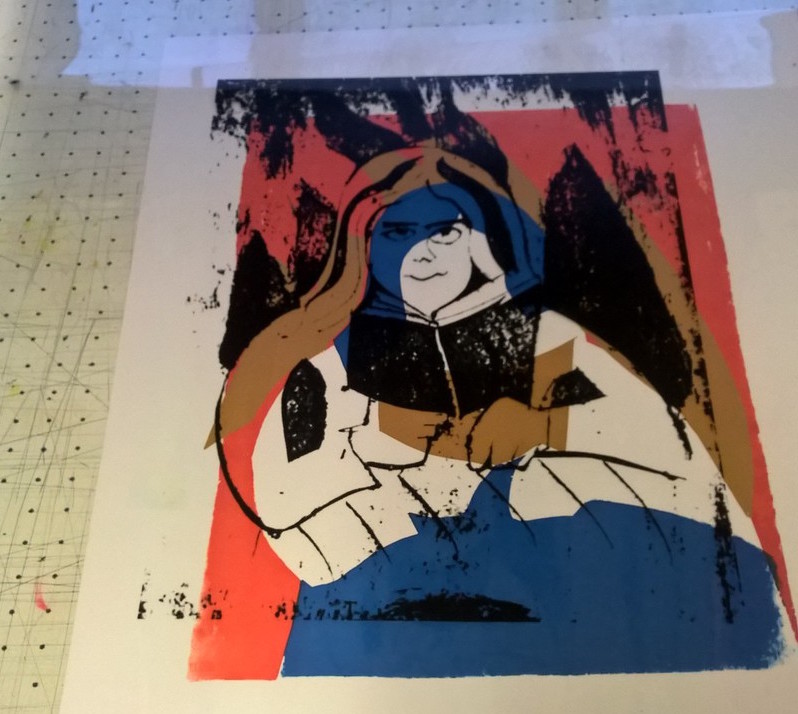
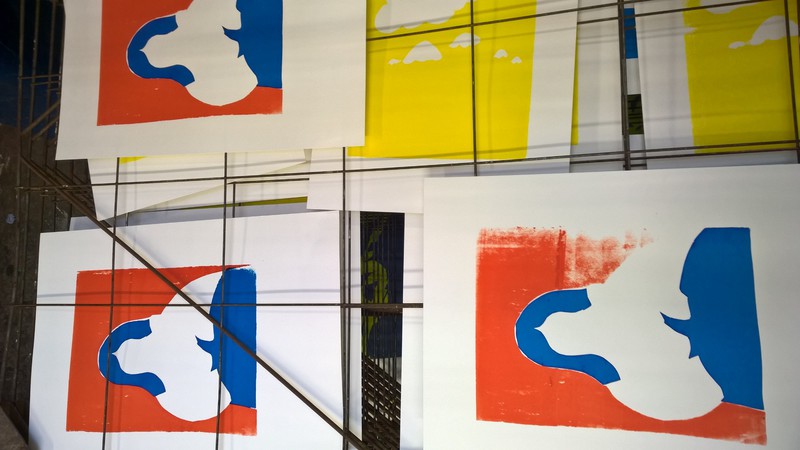
- Cut the templates out with scalpels to the shapes that you want to print as colour and plan your image.
- Prepare a new, blank screen, taping around the printable area (with one of the templates underneath to judge)
- put the cut-out paper template under the screen
- put a sheet of acetate under the screen and template. (This is for
registration, and completely confused most of us for the whole of the
demonstration, but begins to make sense when you practice) and tape it on one end
so it can flap over, always returning to the same place (this time with masking tape).
- “masking tape on the bed, packing tape on the screen.”
- print onto the acetate. The ink will be blocked by the paper template. Also, the template should now stick to the screen. (if it doesn’t, stick it to the screen with more packing tape)
- now position paper underneath the acetate until it’s aligned in the window you want.
- now move the acetate out of the way.
(The trick here is that as the frame is always fixed in place, and only moves
vertically up and down, the paper will now be in the right place. Also, as
the acetate is taped on one end, when you flap it back, it will be in the same
place too, so the next prints will also be good, yay!)
- repeat till all this template is printed. Keep a count of how many times you accidentally print again onto the acetate or directly onto the screen bed.
- Now you have to wash the ink and the template off the screen and wash the
acetate, to re-register.
- Then you can repeat with the next colour.
- Finally, you can print the original photo image over the prints.
I also missed a bit where you printed a first base layer of ink without using a template (because I wanted some sections to stay white.)
And don’t forget to hose down your screen (again) and take any tape off (first making sure the tape is good and wet, so it peels off without tugging and the tell-tale ripping noise that will have the nearest resident expert running in to warn you about damaging the screen.)
Though this sounds like a lot of process (and it feels like it as you’re doing it) it does begin to feel easier. I suspect that with etching, it felt easier because at a certain point the instruction is just “ink up and print it like you did with collagraph or drypoint”, so even though those are also parts of a process, you can just refer to your previous experience, rather than feeling like it’s an entirely new thing.
And though the acetate makes literally no sense when first explained as an abstract things, it does eventually sink in as you practice. I was very proud when I figured out how to keep the same colour ink already on the screen but move to a new template (the old one had torn off and was unusable) by using a second piece of acetate (now that I’m writing this up, I can’t even remember why the second piece was necessary, but it felt useful at the time…).
It’s probably fair to say that I have mixed feelings about screen-printing, but curious to see how I feel about it after the holiday break.