Bookbinding course
C and I went to Hot Bed Press’s Hardback Book course with the fabulous Sylvie Watering. I’m not going to attempt to document all the processes we followed, but here’s a list of various nuggets that we learnt.
Threading the needle
- Needles are bastards. I had no trouble at all on the Saturday, and was Immensely Pleased With Myself, then had total failure on Sunday.
- There’s a cute and clever trick to make a knotless knot, by poking the needle through waxed thread and pulling through to make a knotless knot
- Using a “weaver’s stitch” (same as for casting on in knitting, if that helps) to join two threads when you run out
- Don’t try to sew with too much thread! Though changing thread is a bit annoying, so is sewing with a long, snaggy thread
- On the first day I used a plain linen which wasn’t pre-waxed, so got to have the fun of running across beeswax, which is oddly but immensely satisfying.
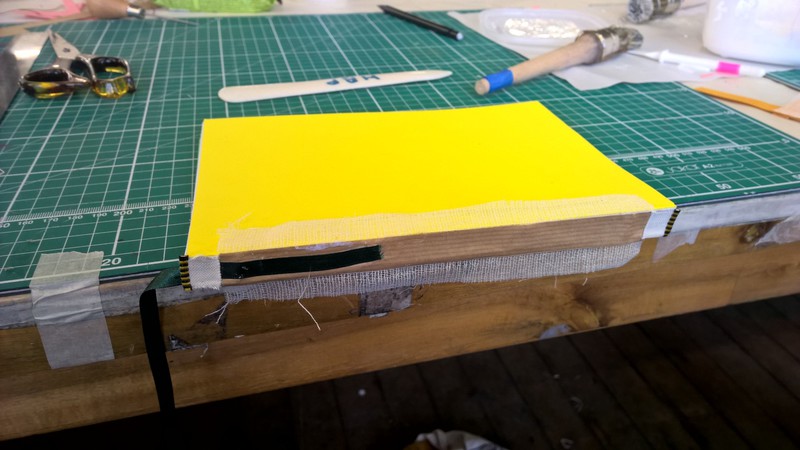
How to handle glue!
(No really. I suspect the course could have been advertised as “A Masterclass in using Craft Glue” and that would have been worth the price of admission on its own.)
- Basically use new scrap paper each time as a base.
- Fold over used parts if possible, otherwise use a fresh piece.
- Get rid of the gluey piece as quickly as possibly, throw it on the floor if that’s easiest (and clear it up later)
- Keep the glue-pot on a bit of scrap paper too, and dab off excess glue onto the paper before spreading
- We used traditional wooden glue brushes with hog hair, that were quite nice to use. For some more fiddly bits we used plastic spreaders, and for the smallest things (bookmark and the headbands) we used our fingers.
- If the pieces you are working with are small enough, reserve half of your cutting board as gluey area, and half as clean
- Paste from centre outwards. Stipple over the bits your fingers have touched
How to cut thick things.
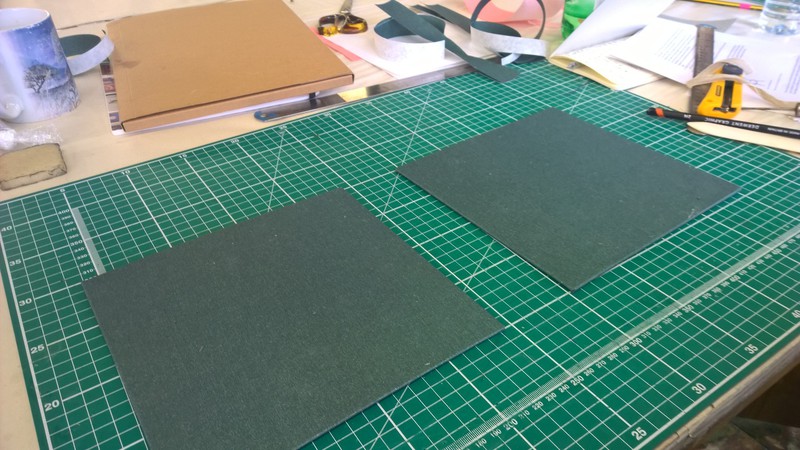
(Like the thick grey-board used for covers, or whole signatures of a book)
- Cut against a metal ruler. I’m not sure why it needs to be metal, perhaps because they are numbered flush to end of ruler, and are thinner?
- You can’t cut it in one go, so don’t even try (you won’t cut in a straight line and will make a mess)
- Instead, stand with weight on the holding hand. Yes, basically by standing on one foot, you can avoid pressing in two places and this gives you much more control.
- Then cut several times, lightly, till you’re cleanly through
- Replace blades at least weekly (or e.g. after cutting something blunting like grey-board)
Measuring things
- They say “measure twice, cut once” and it’s worth being really careful with measurements.
- But once you’ve measured (twice) then you just go for it. The process is really carefully designed for the pieces to (seemingly magically) dovetail together, if you’ve got the measurements right.
- And though you do need to get the measurements as close as possible, it turns out that even the two of us, who are moderately clumsy, managed to get most of the basics lined up.
- You can use the cutting board to measure distances and angles
- align on the thin lines rather than the thick ones, as they’re more accurate
- you can measure the cut for right angles from a single mark with just cutting mat & ruler
- You can also use conveniently sized rulers for their width which is a nice shortcut.
Paper Grain
- All things have to be folded with the grain, and the book must open out like that
- Even grey board!
- Even book-cloth! (And, displeasingly, the cloth may come rolled against the grain)
- (You can kinda get away with it with the tape-bound book of single pages, which is handy, as one use for that for me would be collating my prints from this year, where I’ve paid literally no attention to the grain)
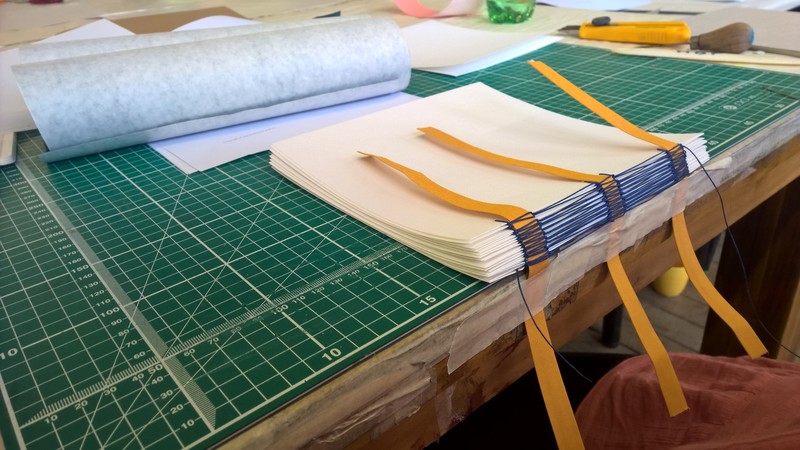
Managing Signatures
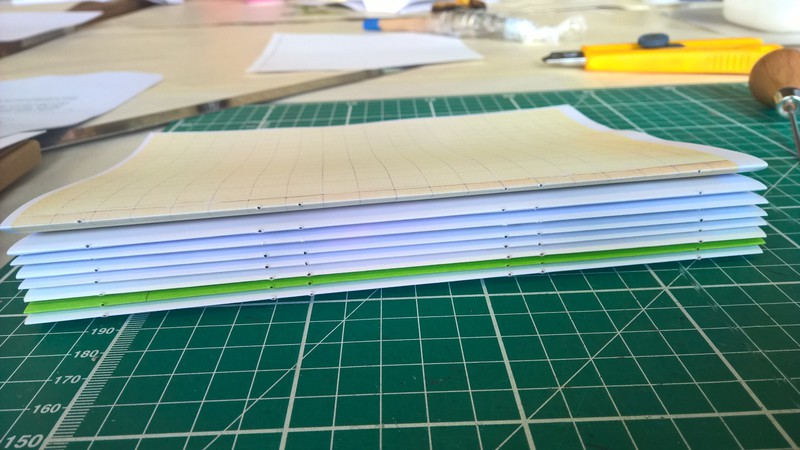
Signatures (or sections) are the little individual booklets that are sewn together for the traditional hardback book.
- If you want a piece of paper to show across the fold (I had an A4 timezone map I wanted to display as is, on facing A5 pages) then it has to be folded at the centre of the signature
- Pay attention to order and positioning (I thought I was doing this, and still managed to sew them in upside down, which isn’t a huge issue, except my timezone map is upside down.)
Learning new things is hard
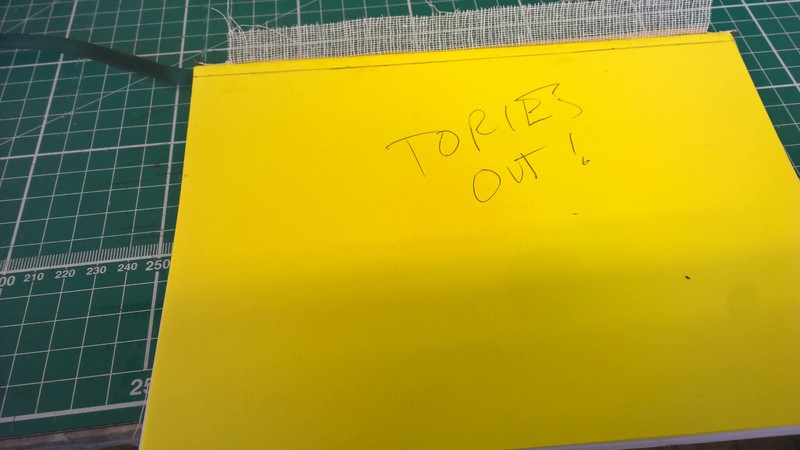
We realised that the course clashed with the weekend protests just down the road for the Tory party conference. So I wrote a rousing manifesto on the outside of my endpapers, where they get glued into the covers. That’ll show ‘em.
- But as well as getting in the way of politics, it turns out that spending 6 hours a day over your weekend learning new things is Hard Work
- By the end of the weekend, I could feel myself getting literally dumber by the minute. I managed to glue the last endpapers on the 4th attempt in a panic, and basically by wafting the papers towards the cover board and hoping for the best.
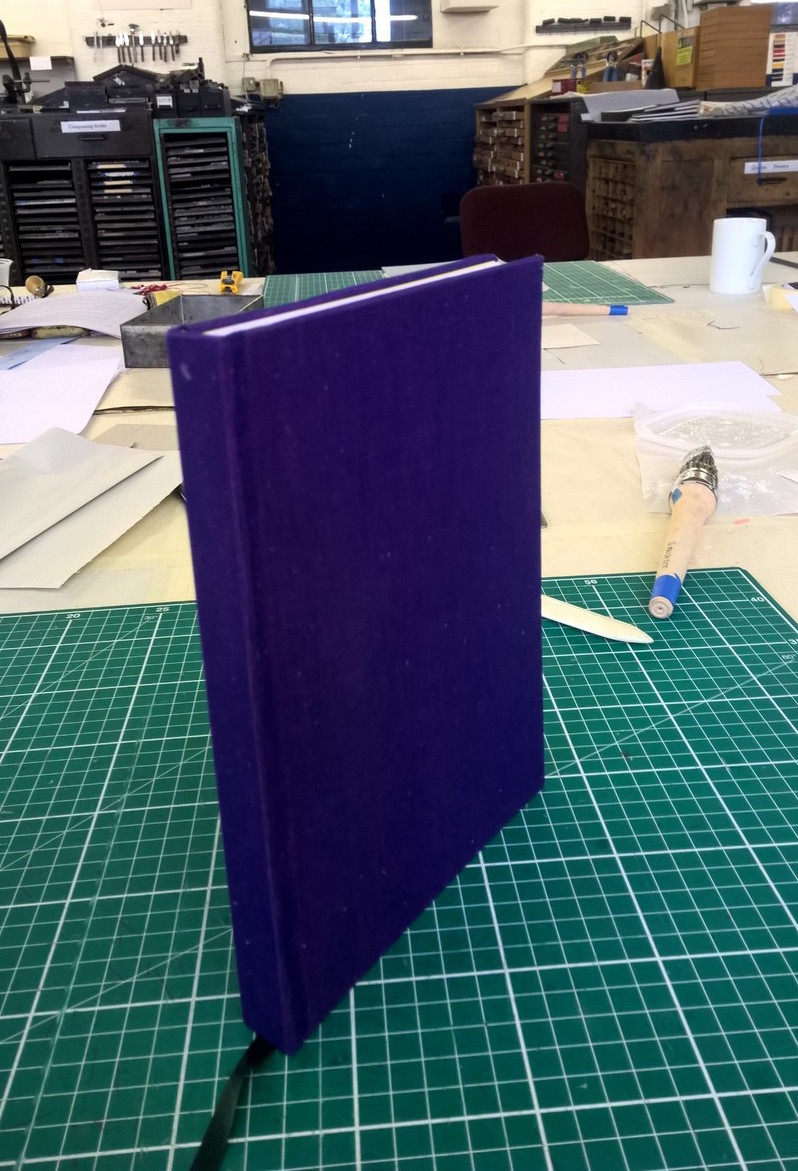
- It’s also incredibly rewarding. We ended the course with two beautiful (ish) books each, and could (probably) do (most of) it again (at least for a couple of weeks, until the hard won knowledge evaporates again…)