Etching
We studied the basics of line etching with nitric acid over 2 weeks, but it’s easy to see that there’s so much more to learn. There’s a lot of process (or at least it feels overwhelming when you first see it demonstrated) but it boils down to:
- degrease the zinc plate and dry it
- heat it up on a hotplate
- melt a dark wax (“hard ground”) onto it
- roll the wax smoothly over the plate (using a specialist heat-resistent roller)
- tape the back with packing tape
- draw the image, by scraping away the wax with a sharp tool. Because you’re only scraping wax (rather than scratching metal, as with drypoint) this feels very comfortable, and you can also see clearly what you’re doing, because the ground has a colouring in it.
- put the plate into an acid solution. The acid will bite a line into anywhere exposed on the plate (e.g. where you’ve scratched through… the rest of the plate is protected by the wax or the tape)
- while the plate sits in acid, you stroke the surface with a feather to stop air bubbles (caused by corrosion) from making the line dotted.
You can then rinse the plate in water, draw some more lines on the remaining wax, and go again. The lines that were already exposed will become deeper. We went for 3 thicknesses of line.
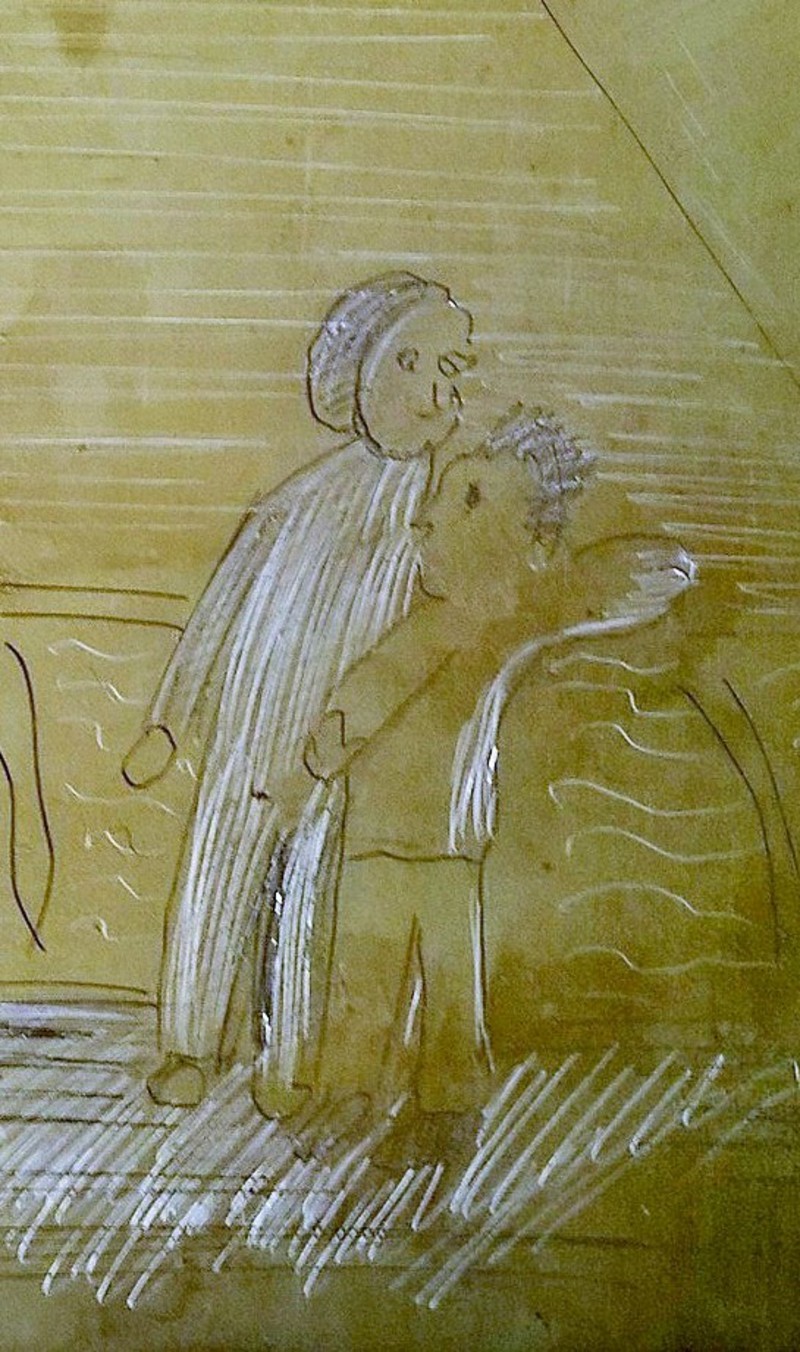
In this detail from my plate, you can see already etched lines (dark) and newly scratched lines (shiny) which are due to be exposed to acid.

But you’re still not quite done! To ink up you have to:
- remove the ground, tape, and sticky residue, with a bit of white spirit
- file any sharp edges smooth(ish) so they don’t damage the presses
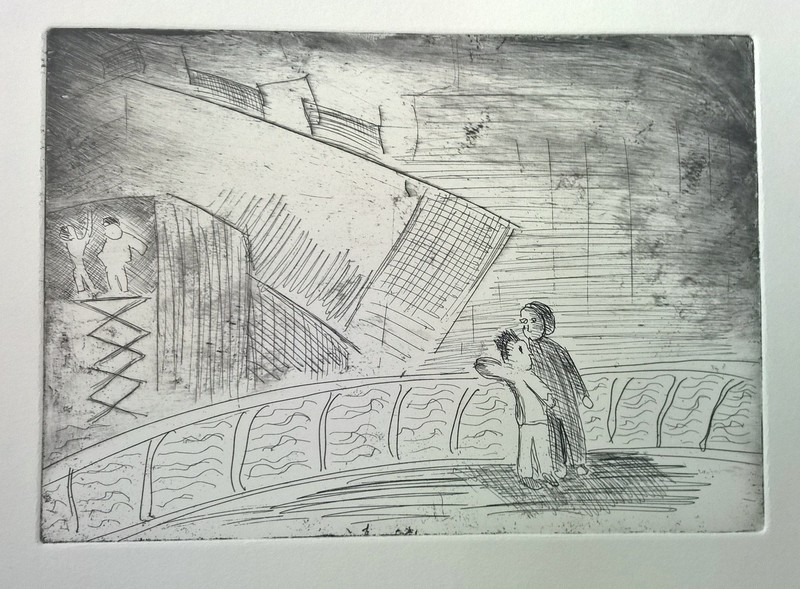
Then you’re good to ink up the usual way. Here’s my first print, with:

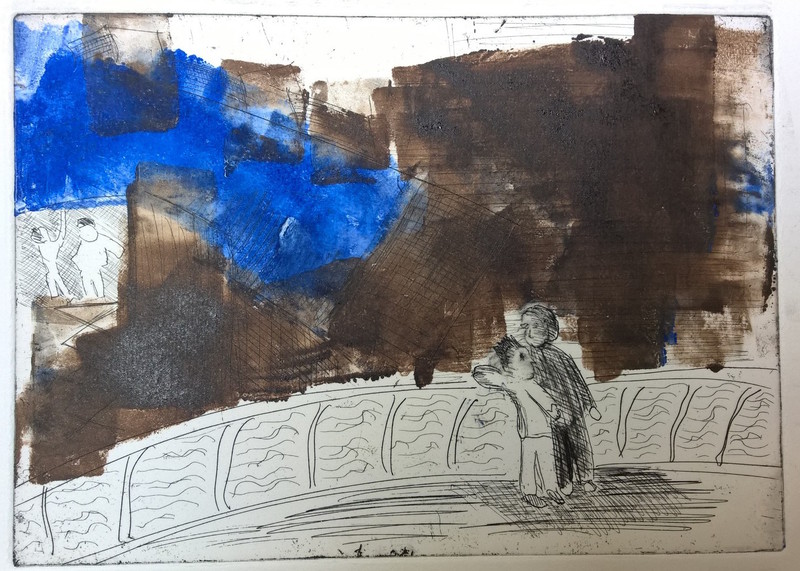
We’ll go on to printing tone with aquatint in a few weeks, but in the meantime
we also experimented with painting directly onto the plate with rollers. This
looked great on some plates in my class, but I didn’t really figure out a combination
I loved on mine.

